 |
 |
 |
|
 |
 |
 |
 |
 |
 |
 |
 |
 |
 |
 |
 |
|


Go | New | Find | Notify | Tools | Reply |
| best clear to seal epoxy | Login/Join |
| DRR Trophy |
Guess I have to ask again what type of clear and what brand have you used to seal epoxy in cylinder heads for use with methanol fuel The difference between ignorance and stupidity. Ignorance is lack of knowledge. Stupidity is the inability to learn. Don't be stupid | ||
|
DRR Trophy |
I am curious as well. | |||
|
| DRR Trophy |
I've had good luck with a 2 part urethane. Always be sure things are CLEAN ! I like lacquer thinner but acetone works well .You'll be wise to go over the area with some 80 grit emory cloth before cleaning. | |||
|
| DRR Pro |
I use Devcon 2-Ton epoxy on all my ports with splash zone epoxy. I apply it with my finger. Looks shiny when done. Works perfect. The edges are what you want to concentrate on.  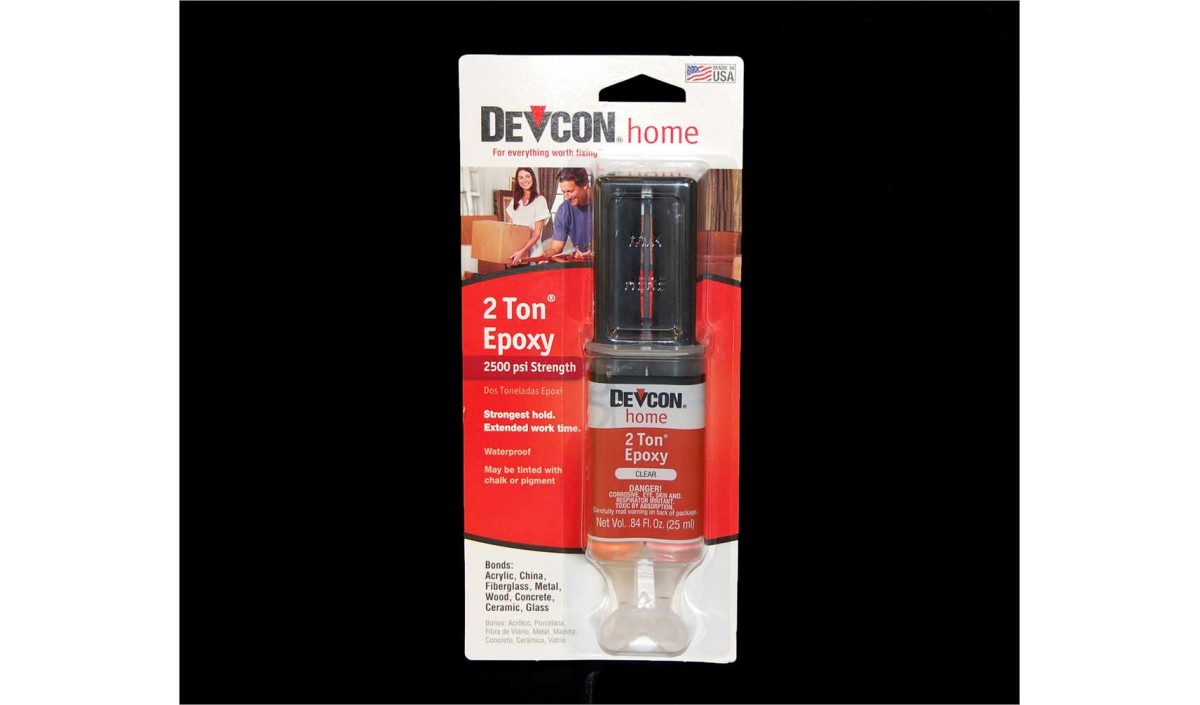 Chad Speier 785-623-0963 | |||
|
| DRR Pro |
Chad I understand the reasons why the port walls have a burr finish . but why destroy the gasket surface as well... ? and before ypu say to keep the gasket from slipping/sucking and moving ... I cant count the engines i've built over the last 30 years but i've never had an intake gasket move . unless someone got carried away porting one .....theres got to be a reason you do this ??? Please enlighten me ... | |||
|
| DRR S/Pro |
I don’t see a burr finish on the intake surface. Looks more like a little air whiz wheel abrasive pad finish Easier to run over the surface and make a uniform look. Just use a real fine disc like a scotch brite I have one at work and pads from very coarse sanding discs to very fine polishing discs Used it all the time. | |||
|
| DRR Pro |
I do it because I like the 60g DA look much better that a scratched up intake face. I do it on every head I ship. However, this head was done because a 60g DA will eat right through the epoxy to make even with the face surface. This head gets the face corrected because the heads are angle milled. Chad Speier 785-623-0963 | |||
|
| DRR Pro |
 Chad Speier 785-623-0963 | |||
|
| DRR S/Pro |
I have often found FP or other brand intake gaskets slip on the divider between 2 ports in SB Chevs. Gasket distorts and moves. Seen it on BB’s too but not as bad Dimple the port divider with a punch and glue the gasket in place with 3m yellow Cometic intake gaskets are much better and don’t move in my experience. | |||
|
| DRR Trophy |
Oh ya understand the importance of clean. As a autobody guy with 40 plus years in always prep as if to paint. Thanks everyone for your input. The difference between ignorance and stupidity. Ignorance is lack of knowledge. Stupidity is the inability to learn. Don't be stupid | |||
|
| DRR Pro |
[QUOTE]Originally posted by SCDIV1: I don’t see a burr finish on the intake surface. QUOTE] the burr finish is inside the port .. never said it was on the intake surface ... But it has an awful finish now , unless its going to be refaced as Chad says .. If that was my BRAND NEW head and it came back like that I wouldnt be happy ..theres alot less gasket sealing surface than if it was still smooth ... but to each his own . Chad does alot of work and I havent ever heard anything bad about his work ... so keep on keepin on Chad ... | |||
|
| DRR S/Pro |
I mis read your post thinking you saw a burr finish on the surface. My bad ! The 60 grit is pretty coarse and looks it Don’t know if he went over them after that I’m pretty sure they are the same heads he showed for sale on a FB site Brand new Super Stock replacement aluminum heads going by the specs posted for CC’s and valve sizes I usually use some fine wet or dry sandpaper in my wash tank to get a decent looking surface but on used heads | |||
|
| DRR Pro |
I go over the 60g with scotch bright when I final wash them. These are a different set of head. This was a FJ head I sent him. The set for sale were on a 350/360/330 combo that I bought from a good customer because I'm going to run GT with a Cavalier. Chad Speier 785-623-0963 | |||
|
| DRR Pro |
 Chad Speier 785-623-0963 | |||
|
| DRR S/Pro |
Very nice.... And yes I knew from the specs what the heads were probably for.... I prepped lots of Stock Chevy heads in the 1980's.... CC'ed every chamber and know the runner specs... | |||
|
| Powered by Social Strata |
| Please Wait. Your request is being processed... |
 |
 |
 |
 |
